I am linking up with 4th Grade Frolics for Monday Made It. I This is my first time linking up with Monday Made It and I am really excited to share my recent project, Paint Bucket Seats.
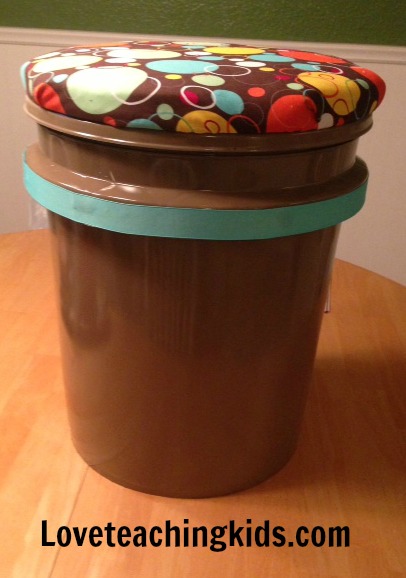
 I made six paint bucket seats for my small group table in my classroom. I found this great idea on Pinterest from Hangin Out in Third Grade. I needed something smaller than chairs to fit around my small group table. They were super easy to make and I think my husband had more fun making them then I did!
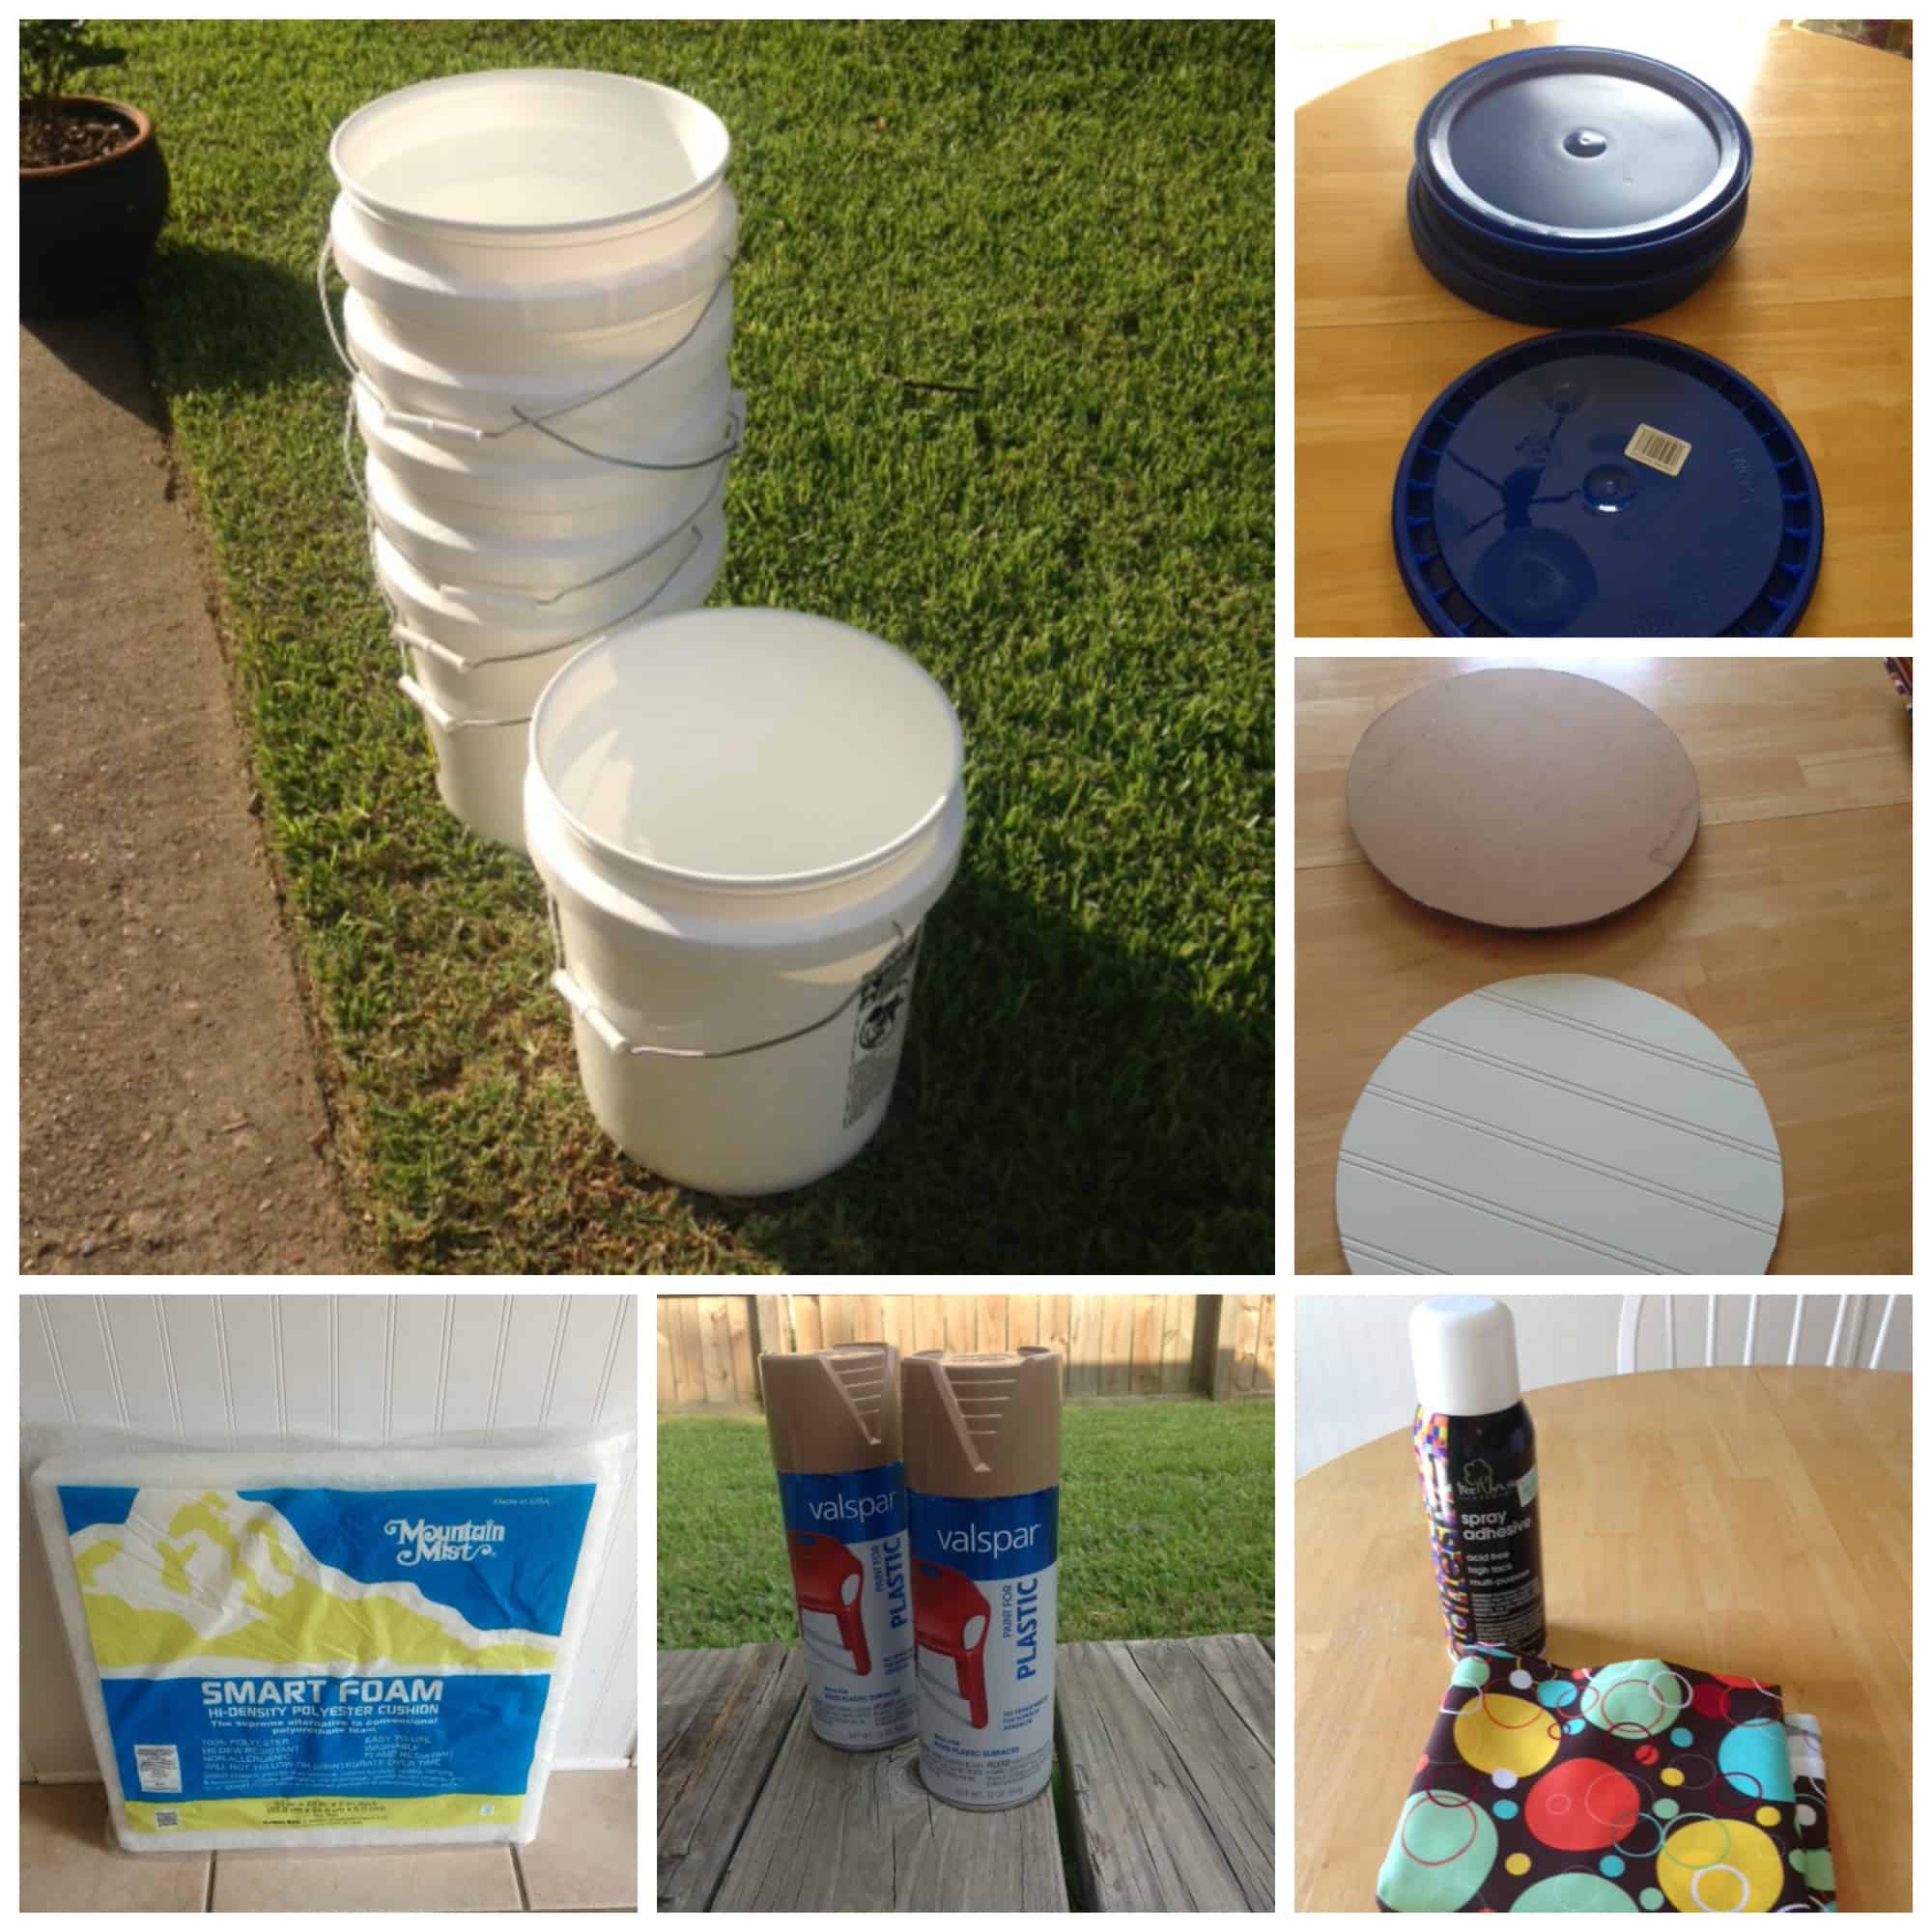
Materials: 6 five gallon paint buckets and lids (they have blue and grey at Lowes), 6 circle boards, foam, spray paint, spray glue, glue gun, material, and ribbon.
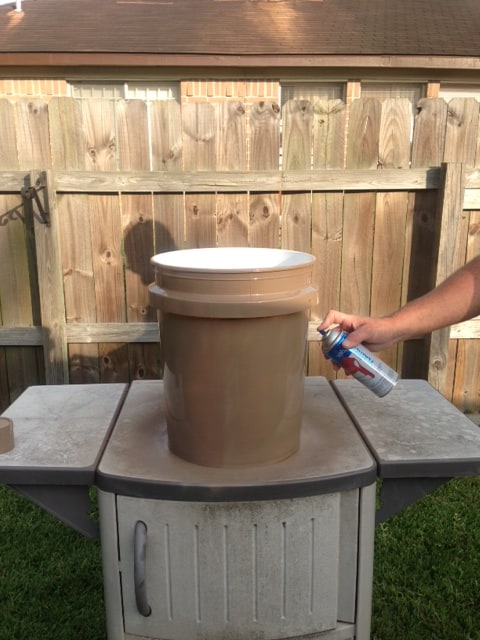
Step 1
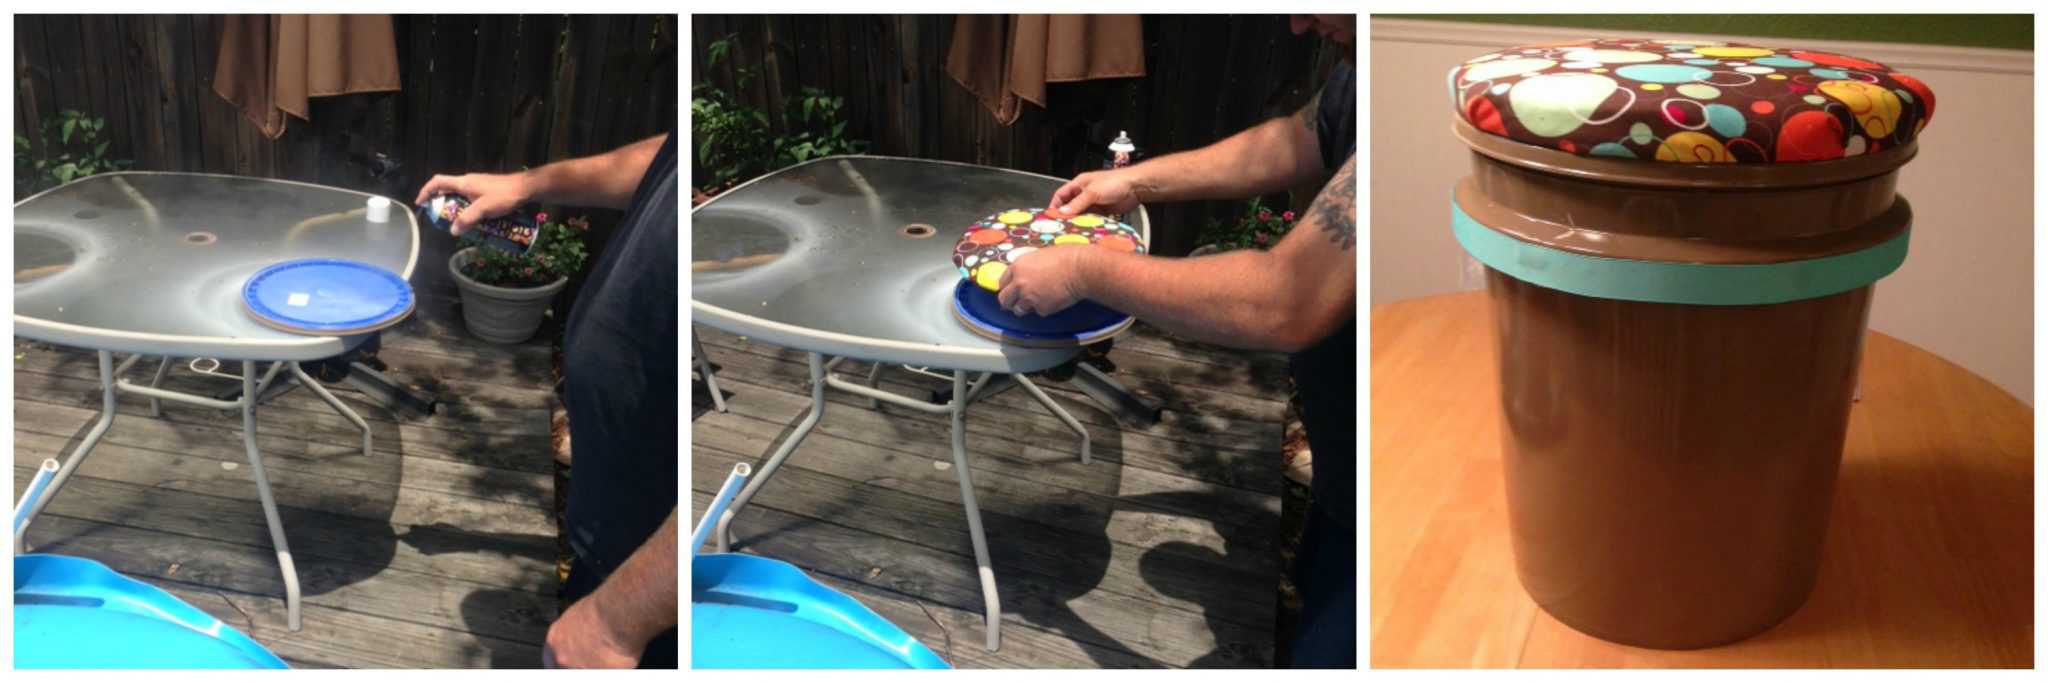
Take the handles of the buckets. Spray the buckets with spray paint. I used spray paint made for plastic. It took 2 cans for 6 buckets. If you have a happy trigger finger you might need to buy an extra can. Make sure to spray paint the edges of the lids also. I taped them off with newspaper and painters tape so I wouldn’t spray the top. (My husband said the glued wouldn’t stick to the spray paint. Not sure.) I let them dry overnight.
If you want to skip the rest of the steps you can also just order bucket lids with a seat. They are called Bucket Lidz and they are sold on Amazon for about $12 a piece.
Step 2
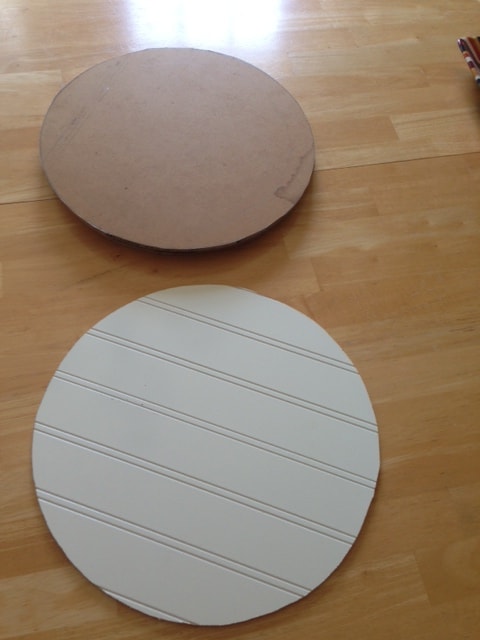
Cut the circles out of particle board. We had some left over Wainscoting in our garage so we used that instead. My husband just took the lid and traced a circle around the Wainscoting and used his jigsaw to cut them. I read on Hangin’ Out in Third Grade’s blog that she got her circles precut from Hobby Lobby, but I couldn’t find any there.
Step 3
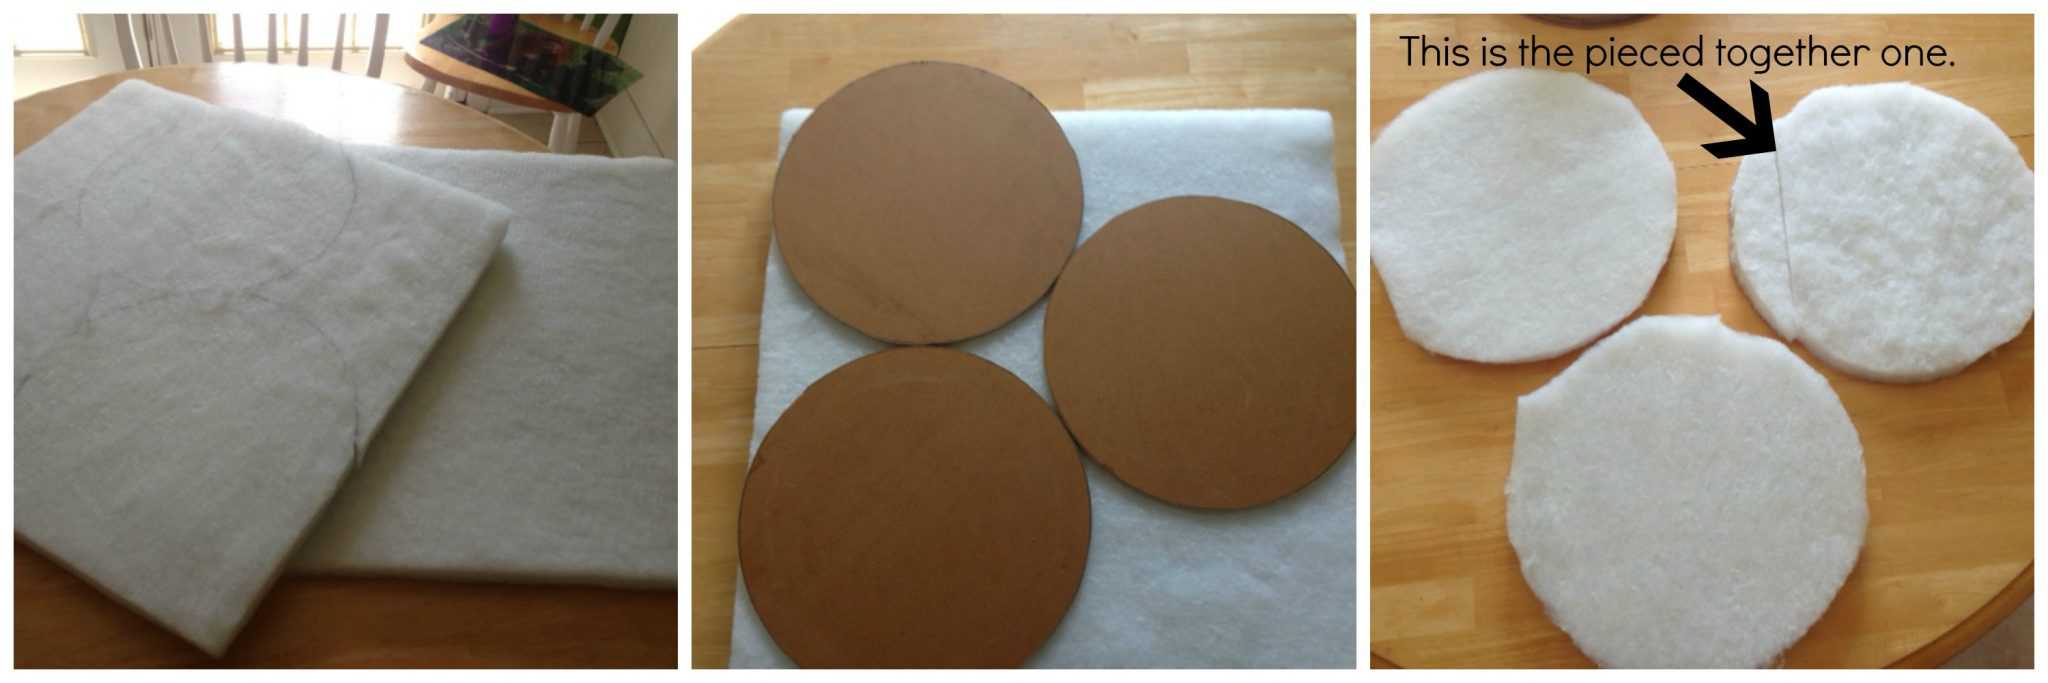
Now it is time to add the foam to make your paint bucket seats. The foam I bought was really thick so I split it in half. Then I placed the circles on the foam and traced them. One of the boards hung over but I just used them scraps to piece it together.
Step 4
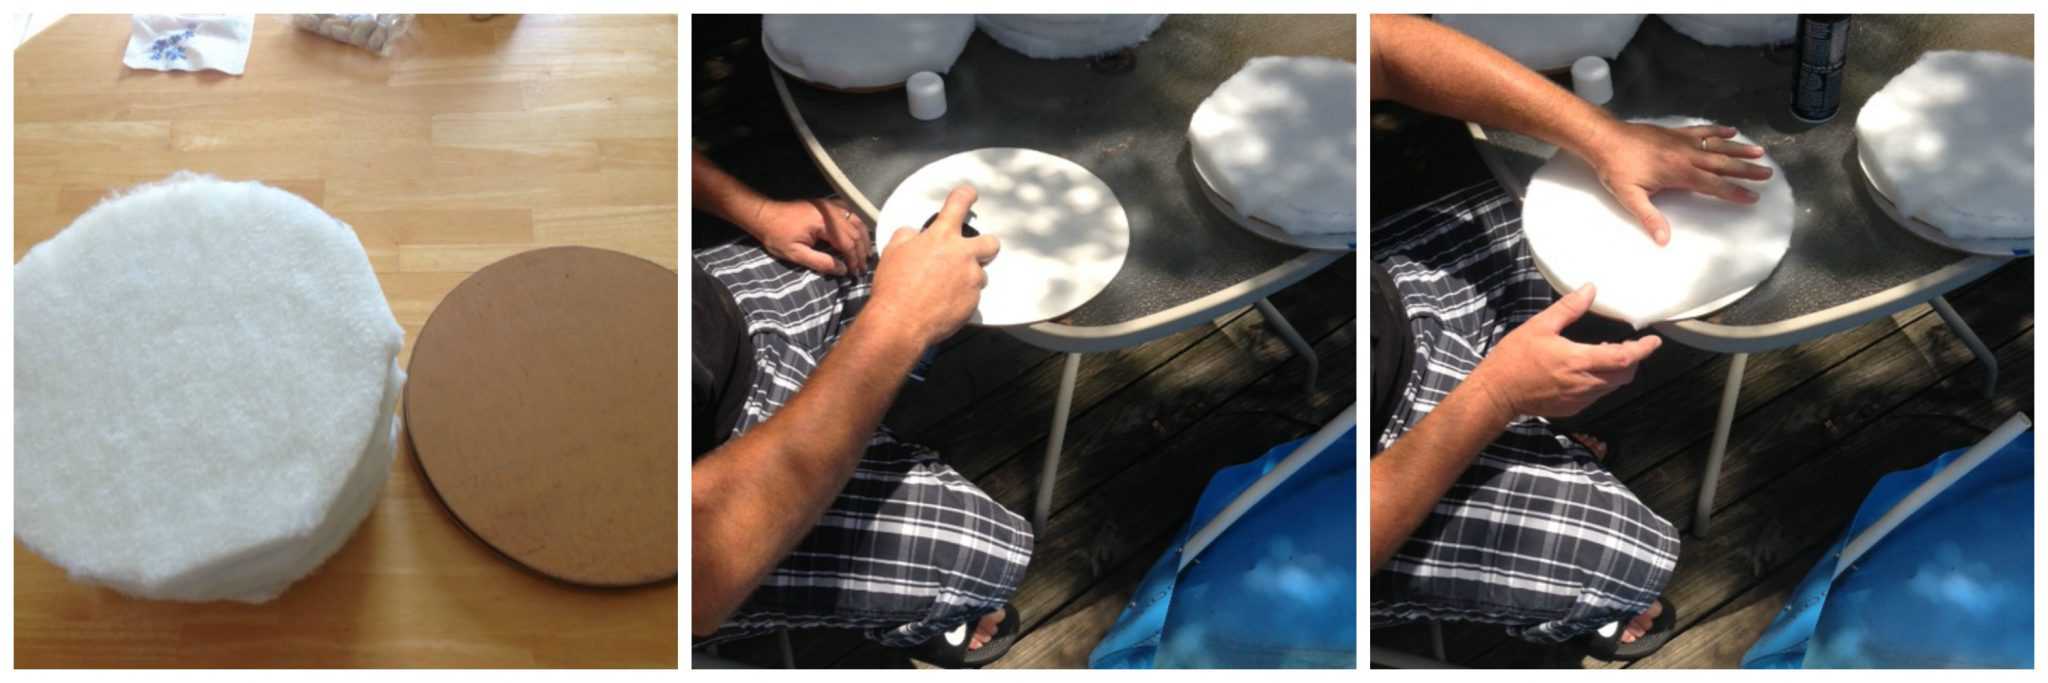
It is time to take the circles and glue them on to the boards. I used the adhesive glue. It only took a few minutes to dry.
Step 5
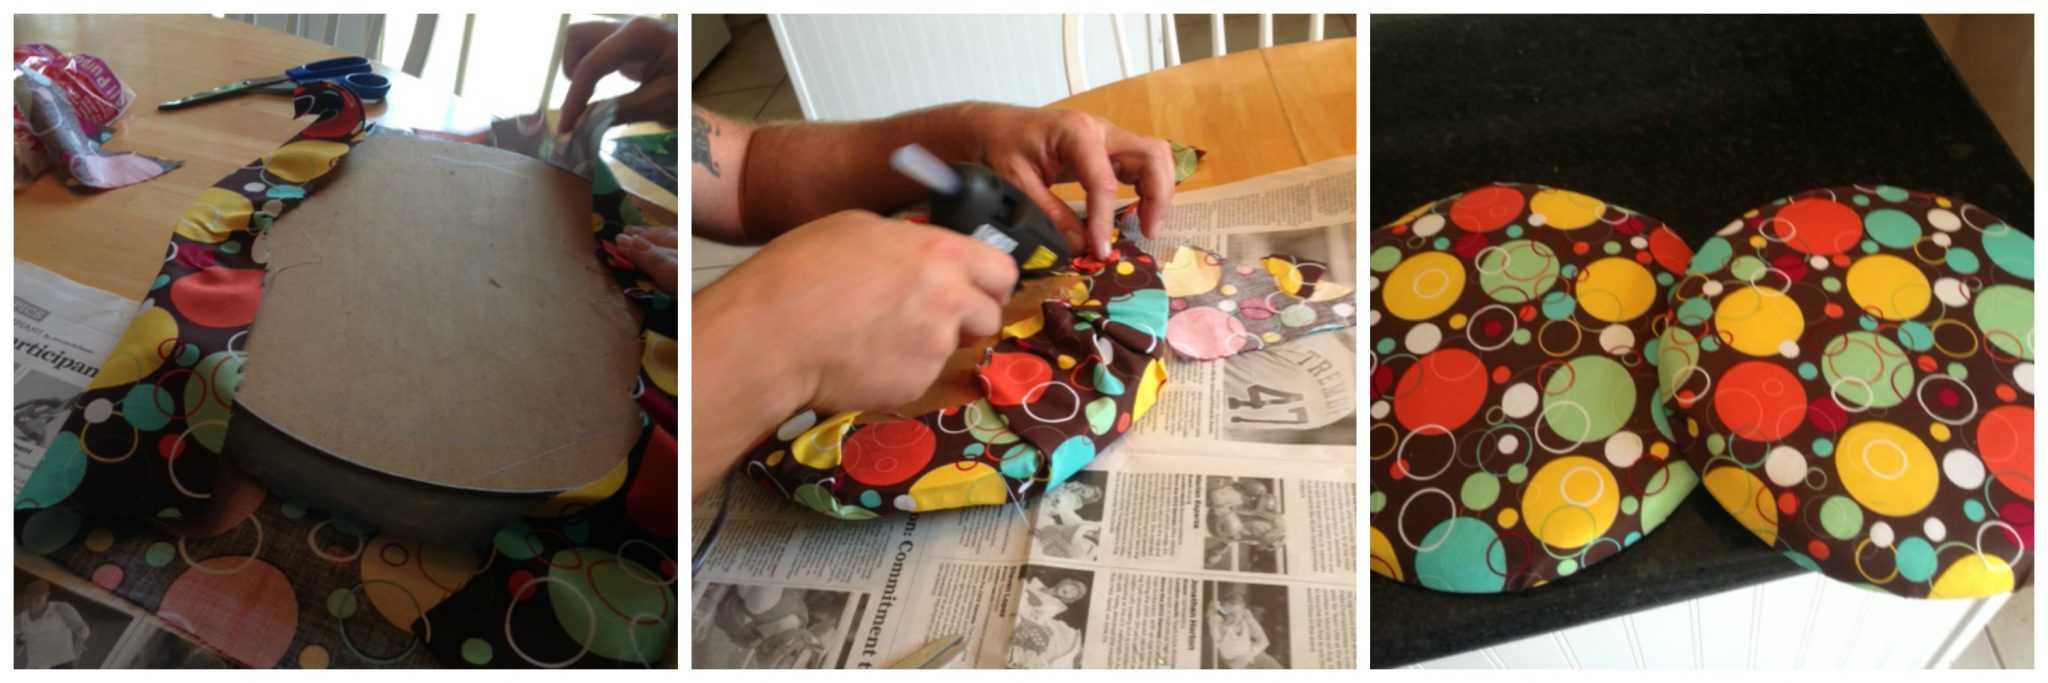
Finally its time to attach the fabric. I bought 4 feet of fabric. Cut out a square and attach it to the foam board. I used a glue gun to glue the fabric on the back. Make sure to pull the fabric tight before gluing it on the board.
Step 6
Attach the fabric boards to the lid. I used the spray adhesive again to attach the lids. Let dry and then snap on the buckets. I also added trim around the bucket for more color.
I had a great time making these paint bucket seats. As you can tell my husband helped out a lot. We finished steps 3-6 in about 2 hours.
I can’t wait to use these in my classroom this year! Make sure to go by 4th Grade Frolics and check out her great blog.
If you haven’t downloaded my free sub plans make sure to click on the picture to get them.